Have trouble with the old wall tiles and looking to renovate your space? But worried about how to remove the tiles from the wall to infuse a fresh appeal to your decor systems. Believe us, it's a very easy task to do. Removing wall tiles is not as tough as you imagine.
However, it's a process that requires you to follow some simple steps to achieve great results. Today, we are going to share with you a step-by-step guide to removing wall tiles smoothly from your space.
6 Steps To Remove Wall Tiles With Ease
1. Prepare Surface
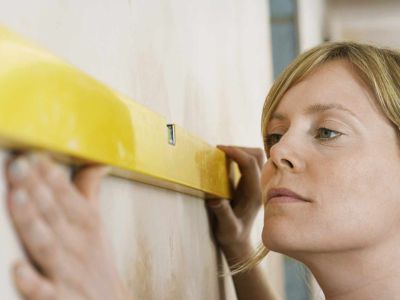
Removing wall tiles is easy but when you follow the steps accordingly. Preparing the surface is the first move to chip away the wall tiles from the surface. If you are looking to renovate a particular area, then first mark the space with tape or markers. It will help you to prevent unnecessary damage to the nearby surfaces.
Next, you can implement grout rakes on the surface to loosen the grout lines or the joints for easy removal of wall tiles. Such preparations are very simple yet important to smoothen the upcoming steps.
2. Protect Surroundings
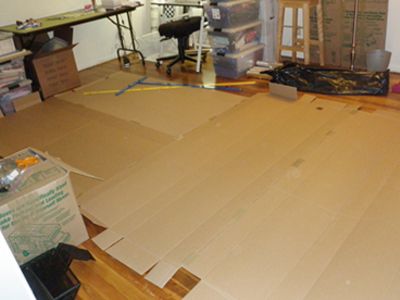
If you are doing it for the first time then you never know how much damage the chipped wall tiles can cause to your surroundings. For example
"You are renovating your bathroom wall that is placed just behind the bathtub. The broken pieces of the tiles can cause irreparable damage to the bathtub and other amenities in your space."
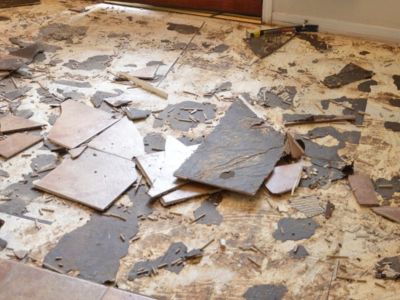
Therefore protecting the surroundings becomes essential. You can remove the furniture next to the wall to keep it safe and tidy. Spread some cardboard on the floor to protect your flooring from scratches. Yes, the impact of chipped tiles can also cause damage to the floor tiles. Thus, keep it protected with cardboard or dust sheets.
3. Disconnect Utilities
The next step is to disconnect the bearings of the wall or ensure their safety during the process. If you have any decorative elements on the wall, you can just remove them to ensure a smooth process. However, for utilities such as switchboards, you can cover up the space to protect from damage. Disconnecting utilities will provide you free space and extra comfort while removing the tiles.
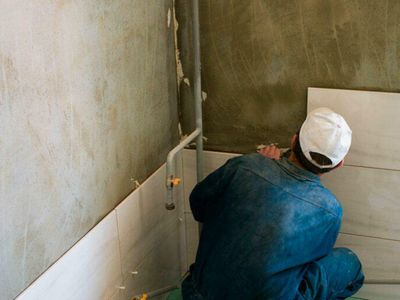
4. Pry Off Tiles
Now it's time to pry off the wall tile from the surface. As always, the first one is going to be a tough task, after that, you can speed up with ease. To scrape the first tiles you can find loosen areas on the wall where you can easily chip the tile and wedge your chisel. Often, old walls have a loose or unstable piece to start with.
However, if you can't find such an area, then start tapping a tile from any corner to find the gap for putting your chisel in.
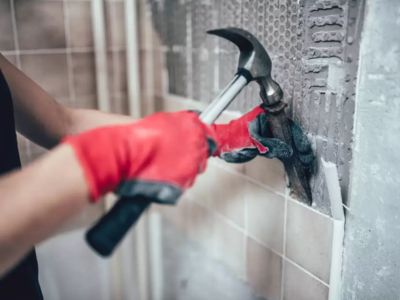
5. Chip Grout
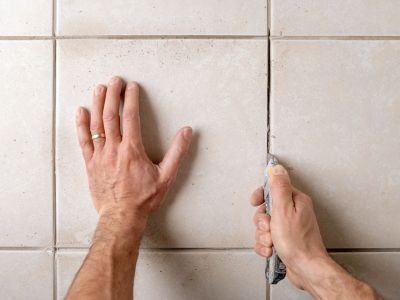
Chipping the grout layer is an easy trick to displace the tiles from the wall. Using a grout rake or sandpaper you will be able to create a gap between the tiles by thinning the joint between the tiles. Once you find the gap, put the chisel in and slowly tap from one end to chip the first piece and remove it from the wall.
Try to wedge the chisel below the tiles to chunk bigger pieces at a time. It is a useful yet risky process, as the bigger pieces can cause potential damage to the floor and you as well.
6. Scrape Adhesive
After pulling out all the wall tiles from the surface it's time to scrape the adhesive before implementing new tiles. Using sandpaper and dust sheets is the best way to pluck off the remaining adhesive layer and tidy up the space. However, there might be some gaps or holes created during the scrapping as sometimes the plaster also comes off the wall during the whole process.
You can simply fill these spaces and smoothen them with sandpaper. Now in front of you, it's the all-new space to renovate and personalize according to your taste. But the task does not end here. You have to clean up the whole space to ensure a tidy atmosphere.
Conclusion
Removing wall tiles is a simple yet method-oriented process. You need to follow the above steps to ensure a smooth removal of tiles from the surface. But remember to take necessary precautions and follow safety measures during the process.